Getting Started With Custom Product Builder: Give Customers Exactly What They Want!
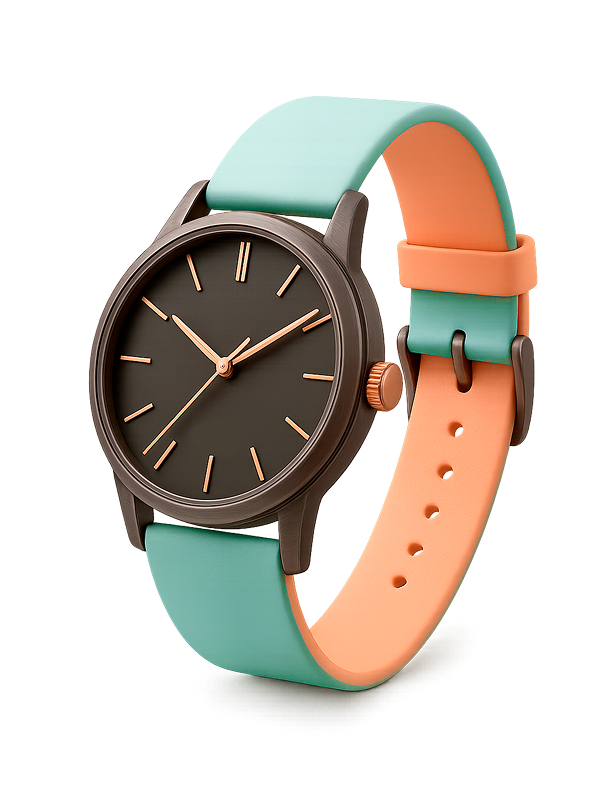
So, what brought you to this page? Product manufacturing is accelerating at an unprecedented pace due to the introduction of new technologies. At the same time, business is confidently turning online, where technological progress opens up very flexible opportunities in the distribution of products, studying consumer tastes, etc. So, have you ever thought about giving users the opportunity to create for themselves what they want to buy, and especially if this is technically possible? If your answer is yes, this article is for you. If not, then maybe you will also be interested in learning how the visualization of custom products with product builder can help your business reach a new level. Let’s begin!
What Do You Need to Start Selling Custom Products?
Step 1: Collect graphic material
First of all, you need to determine the type of graphics that will be placed on your site. This can be either 2d or 3d graphics. Here it is necessary to consider the pros and cons of each since the success of the project will largely depend on the decision you make.
The main advantage of 2D graphics is their cost. This is the cheapest way to visualize products. This is explained by the fact that:
Special software is either not required at all, or is not so resource-intensive and expensive;
The production time of one image is lower in comparison with the construction of a 3D model;
One of the options for 2D graphics is the product photo;
Fewer details to draw;
Less time is spent on learning how to work with relevant programs.
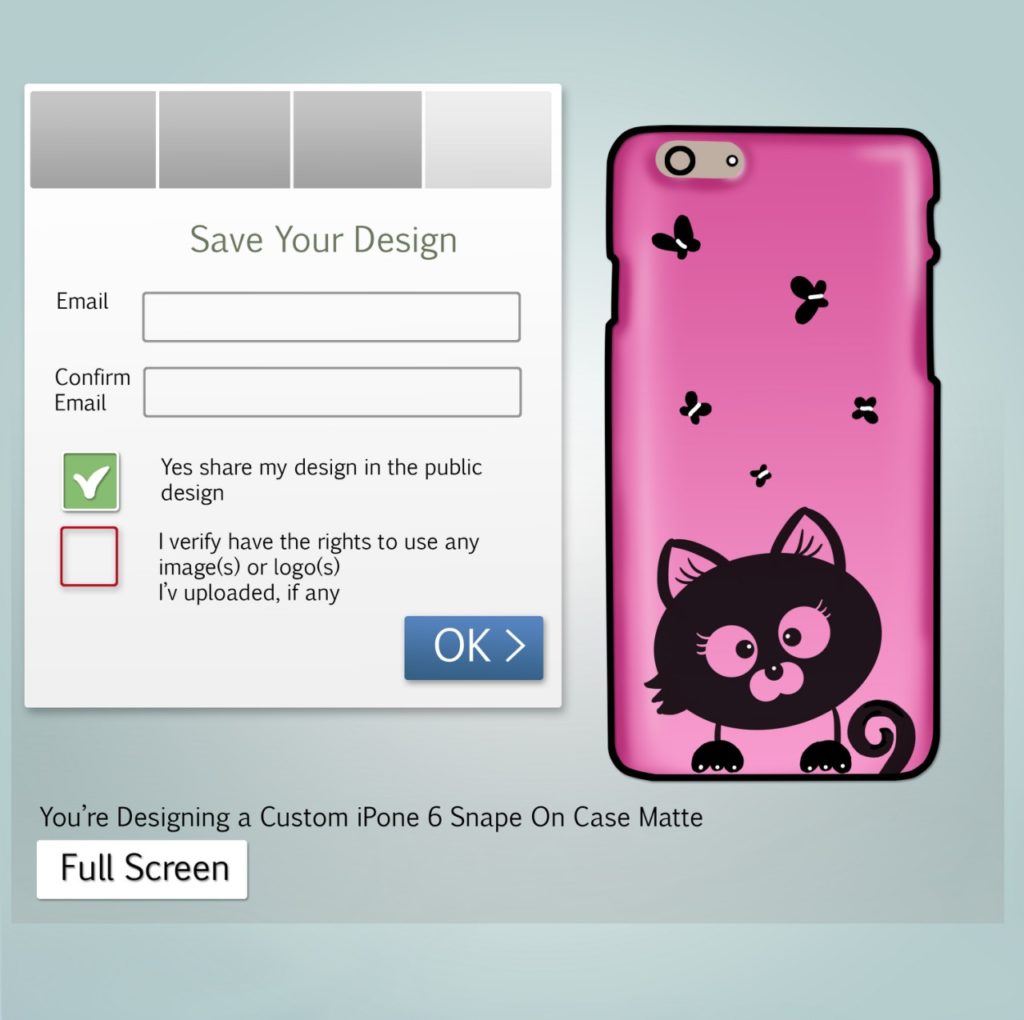
Usually, it works like that: transparent png images are superimposed on each other in a product visualizer and this produces a complete product image. In this scenario, the pictures can be repainted and corrected in Photoshop or exported in png layers from 3D software.
Meanwhile, where there are the pros, there are the cons:
This way of presenting the goods is traditional; it is taken for granted and does not arouse the interest of the buyer;
To use this method one needs a plenty of standard product photos to display all the variations;
The resulting images cannot be reused. Every time you need to make changes to the images, you will have to redo all the pictures again;
To customize the product, you sometimes need to show it from different sides, which will require several images. Multiply the number of these images by the number of variables and you will see that this method is not always quite so cost-effective.
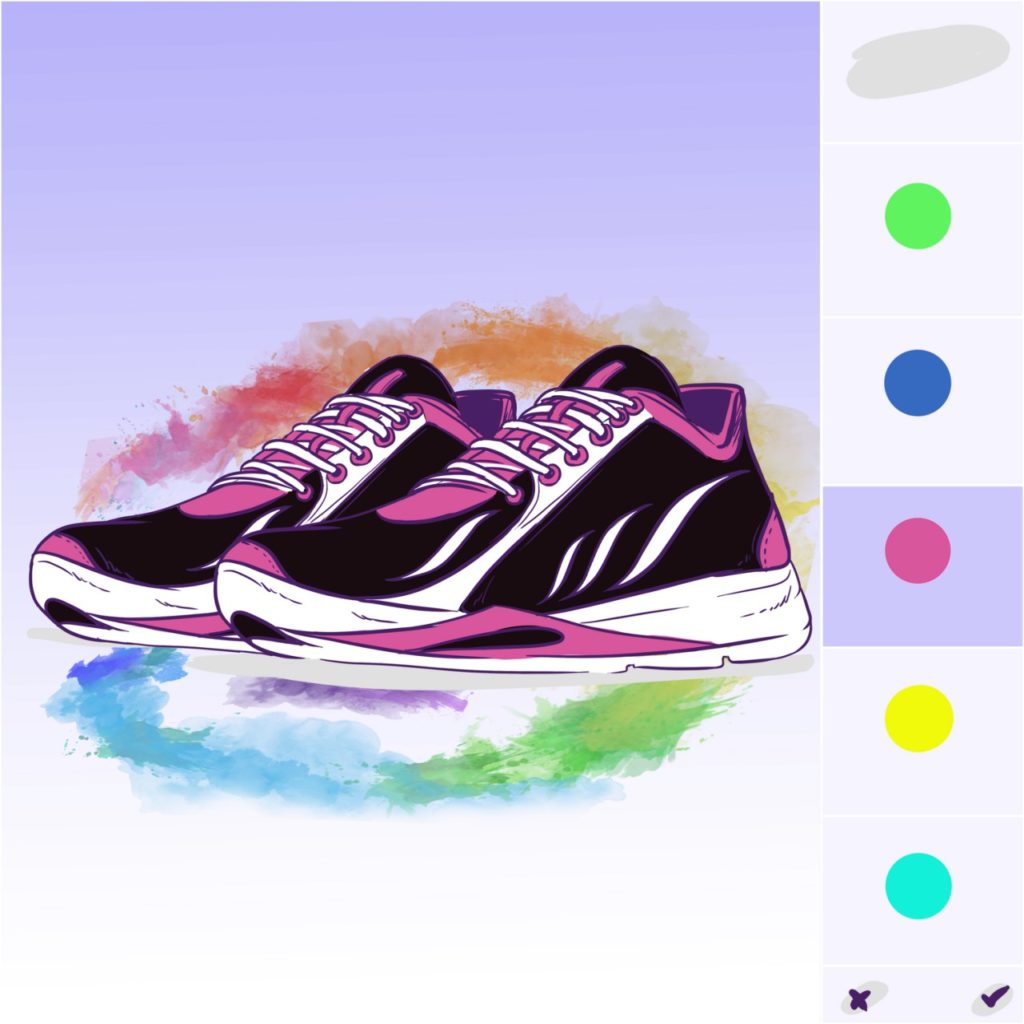
In general, 2D is a solid solution, which is even more convenient for those who do not have a quick access to 3d software. E-commerce photo-realistic renderings are achieved due to a composition of many images of a product taken from different angles. The user can see a 3D preview in this case, as browser scripts make it look like a spinning object.
This approach is very common among brands. For instance, Nike uses it in the notorious NikeiD product configurator system. The other example is the Case Monkey website, making it possible to pour your personality into an authentic iPhone case.
To start collecting 2D images you don’t need any special software or a tutorial. All you need can be done in Photoshop, for example.
If you are convinced that 2D graphics are not the best choice in your particular case, pay attention to 3D graphic.
Pros:
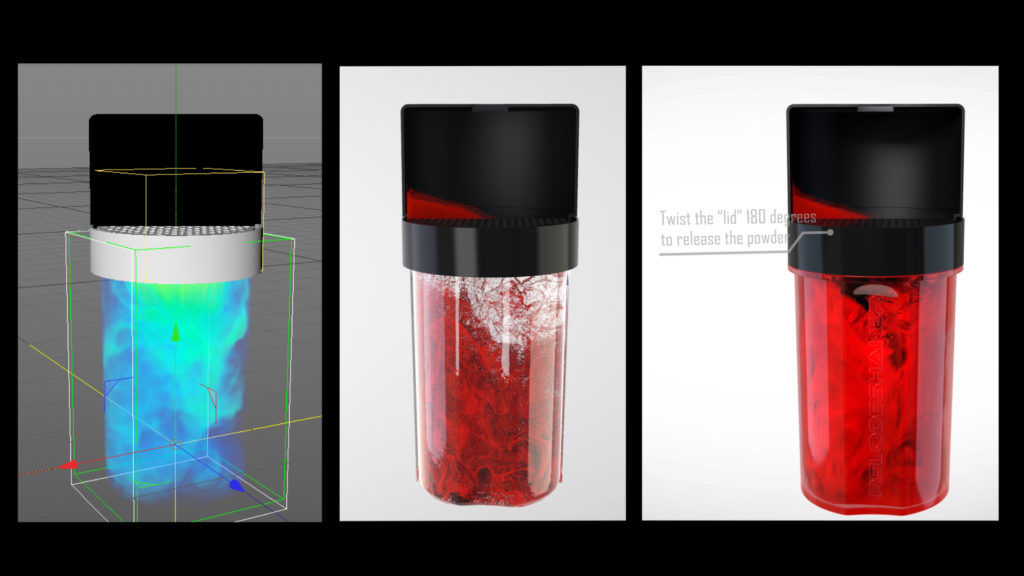
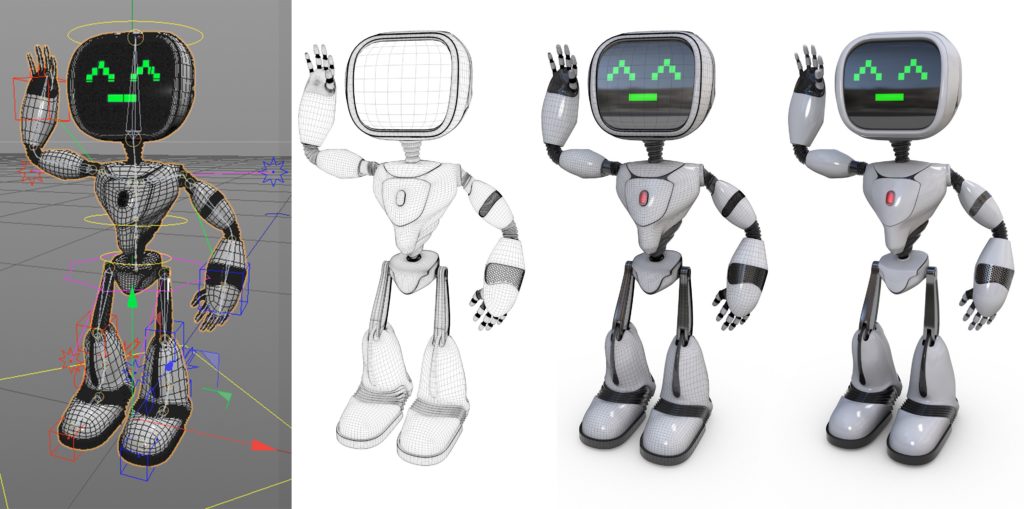
Visual appeal makes 3D images more futuristic and exciting.
Motion enables users to look at the product from different angles and see more details;
3D animation provides more in-depth customer engagement, as the creative activity alone excites them;
These animations are of the better quality, compared to regular 2D images;
3D models are reusable and can save money in the future despite being costly the initial stages.
Cons:
It requires expensive software, powerful hardware, and well-trained specialists. As a consequence, the development of such images is substantially increasing in price;
If one utilizes browser rendering, the quality can be no big deal. In this case, you need all your customers’ browsers and devices to be powerful. Since it is not available, objects look slightly game-like;
The process of developing 3D animations is long. If the products in your store change frequently, this is not the best option;
Given the two factors before, there is a risk of investing money in an unprofitable project.
To develop such material, you’ll need to use 3D software like 3D Maya, Vue, Sculptris, ZBrush, 3ds Max and/or others. Then, you’ll need to export either 3D objects or 2D png images for product visualization.
Step 2: Choose a custom product builder software
First of all, we need to say that you can develop your own software to add a custom ecommerce product configurator to your store. However, like any custom development, this process is long, resource-intensive, and expensive, and therefore not always effective. Use it only if you have a unique idea and/or unique product.
If you don’t want to build your own product software and have been looking for an off-the-shelf solution, you might have noticed that there are mainly 2 types of tools: product customizer and product personalizer. Product configurators allow customers to make changes in the product itself: change the size, color, material, shape, texture, etc. Sometimes they enable them to build a product from available parts like a ‘create your own pizza/burger’.
Product personalization means you cannot change the product’s properties but can add something authentic to it, for example, your own photo, logo, motto, etc. These are all about printable areas of pre-selected products. The classic example is a T-shirt with a print. Most often, the software offers to implement only one of these options.
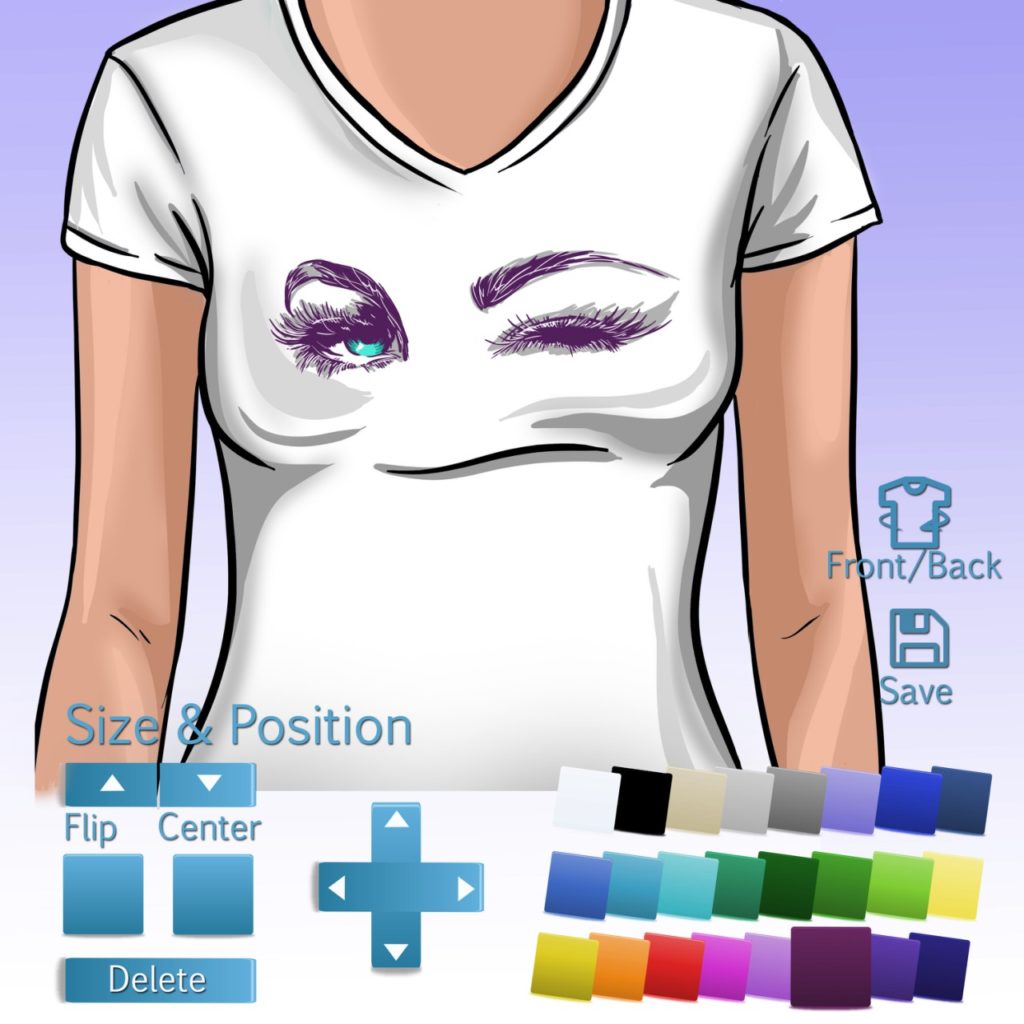
When choosing an ecommerce product builder pay attention to the following features:
Conditional logic complexity;
3D engine availability;
Transparent image support;
Multidimensional preview mode;
Ability to save customized & visualized product;
Inner product parts visualization;
Ability to compare options;
Mobile optimization;
Sharing the customized product;
Multilanguage interface;
Color & changeable options;
Unlimited vs limited product plan, etc.
There are many variants of custom product builders on the market. Nevertheless, most of them are specific, designed for a certain platform, type of goods, etc. and therefore there is not enough competition between them. In addition, you can never be sure that the application will be updated and improved regularly.
Among all similar programs, Custom Product Builder by BuildaTeam stands out as it allows us to use both product customization and personalization at once. You don’t need to choose or leave out either of the options. By giving users more choice, you have more chances to win sales. Due to this, the number of goods sold increases, while product return percentage rapidly decreases. In addition, the degree of customer involvement & engagement in the creative process is strong, which develops your brand and enhances customer loyalty.
Step 3: Give them what they want
Next, you need to install the selected module and upload graphics to it. After that, users will be able to invent their own versions of the products. Easy.
The Benefits of a Custom Product Builder
Integrating a custom product builder into an e-commerce platform can provide significant economic advantages by enhancing customer experience, increasing profitability, and providing valuable market insights.
Boost Sales and Revenue: The market for personalized products is expanding, with projections showing growth from $31 billion to $43.5 billion by 2029 [1]. Businesses that adopt customization can tap into this growth. For instance, some companies have reported a 20% increase in annual sales after implementing a product builder [2]. Customers are often willing to pay more for personalized items, with at least one in five willing to spend 20% more on a unique product [3]. This willingness to pay a premium can lead to higher profit margins, with customized products like t-shirts selling for significantly more than their generic counterparts [4]. Furthermore, features like smart upselling within a customizer can increase the average order value by as much as 25% [2].
Enhance Customer Loyalty and Reduce Returns: Offering personalization helps build a stronger emotional connection between the customer and the brand, which can lead to increased loyalty and repeat business [5]. More than 70% of shoppers now expect personalized experiences, and providing them can make customers feel understood and valued, encouraging them to return [4][6]. Customization can also decrease cart abandonment rates. For example, by allowing customers to visualize their unique designs in real-time, one major retailer reduced cart abandonment by 25% [2].
Gain Valuable Customer Insights: A product customizer serves as an effective tool for understanding audience tastes and preferences [7]. By analyzing the choices customers make during the design process, businesses can gather data to inform product development, marketing strategies, and inventory decisions [1].
Lower Manufacturing Costs and Risks: By allowing customers to create their own products, businesses can shift to a made-to-order model. This reduces the risk and cost associated with mass-producing items that may not sell [7] [4]. Automation in the customization process can also streamline operations, with some businesses seeing a 33% reduction in production time and a 20% decrease in operational costs [2].
Create Interactive and Shareable Marketing: A product customizer is an interactive tool that engages customers in the creative process [8]. This positive experience encourages them to share their unique creations on social media, acting as organic advertising that can attract new, loyal customers to the store [7] [1]. This is especially true for younger demographics like Gen Z, who value unique products as a form of self-expression [1].
References used in the post:
1. https://ecommerce-platforms.com/articles/product-personalization-trends-in-ecommerce
2. https://cmsmart.net/community/product-builder-a-powerful-tool-can-boost-revenue
3. https://www.threekit.com/blog/how-product-customizer-builds-e-loyalty-repeat-business
4. https://www.shopify.com/ng/blog/product-customization
5. https://www.studiowombat.com/blog/woocommerce-product-builder/
6. https://www.rebuyengine.com
7. https://www.thecustomproductbuilder.com/news/getting-started-with-custom-product-builder/
8. https://www.vividworks.com/blog/product-customizer-vs-product-configurator